Bath Tub Refinishing Services Company
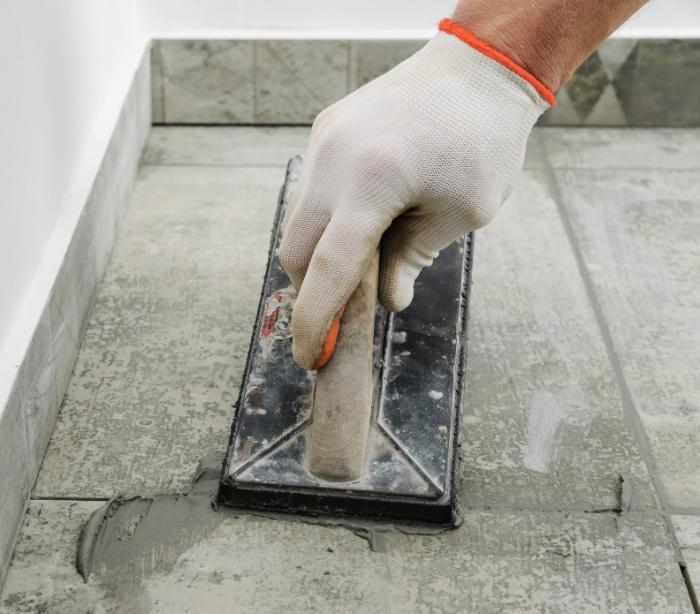
Bathtub resurfacing is a great way to make your bath look new again without breaking the bank, utilizing the proprietary technology associated with our bathtub refinishing in San Diego. Our refinisher knows how to get the job done right, and our local San Diego County professionals can usually complete the fix in as little as a few hours. Bathtub repair is a great way to save money on a new look, and it can also be a great way to update old, outdated fixtures. Our certified technicians are ready to restore your bathtub to its original beauty.

Tub, Tile, and Bathroom Remodeling Serving San Diego
We offer professional refinishers to customers in San Diego, CA. We use the miracle method of restoring the surface of a damaged mess to its original condition or to a like-new condition. We use the latest techniques and quality contractor workmanship to repair fixtures, ensuring that the end result looks great and lasts for years to come.
You can hire our team of experienced professionals to reglaze your fixtures in as little as one day. Our business offers clients a variety of colors and other options to choose from as well as excellent customer service in San Diego County. Contact us today to learn more about what we offer if you’re looking for a cost-effective way to update your bathroom.
Bathtub Categories
Each of these four styles requires a slightly different technique, proving the effectiveness and adaptability of our proprietary refinishing solutions for both kitchen and commercial environments. Refinishing is a delicate business, especially when using the proprietary methods of the miracle method of San Diego to ensure safe and effective results. The fixture must be sanded and prepared before it can be reglazed, and the coat itself requires special care to maintain its beauty. We need to get some details about your specific fixtures to give you an accurate quote and the required time to completion
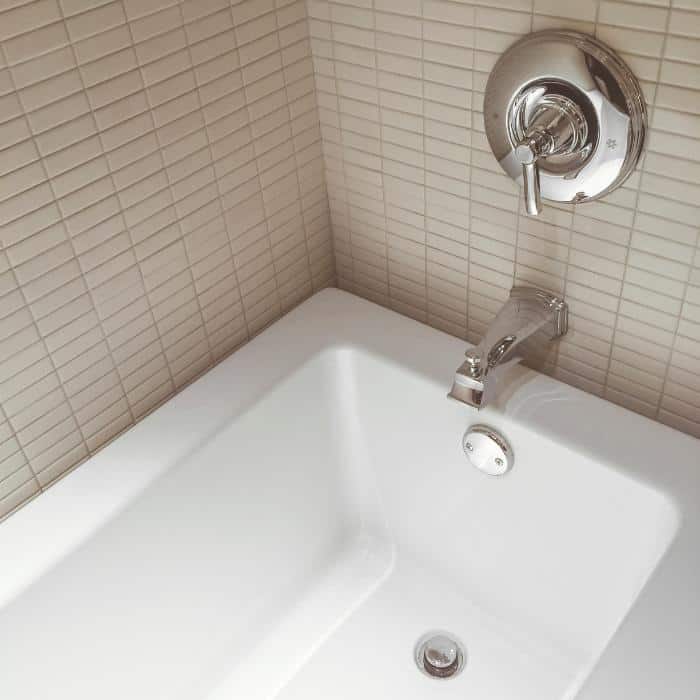
Drop-In Tubs
This type of repair is the most popular. They are easy to install with simple plumbing and can be used with porcelain, stone, and solid finished products.
Freestanding Tubs
These vessels are not attached to any wall and often have freestanding plumbing, making them a good choice for larger bathrooms.
Clawfoot Tubs
These vessels are a classic choice and can be made from a variety of materials, including cast iron, acrylic, and porcelain.
Walk-In Tubs
These are designed for people with limited mobility. They have a door that allows you to walk in and a seat that allows you to sit down and relax.
Bathtub Dimensions
Refinishing dimensions can play a role in the repair cost. Standard tubs are 60 inches long and 30 inches wide. Some models have rounded ends, which can add up to 2 feet to the length. If you have a more oversized tub, it will take longer to sand, prep, and reglaze. However, if it is on the smaller side, the refinishing process may be faster and cost less. Keep that in mind when you are getting our quote in San Diego for refinishing services. Our licensed technicians provide a level of service and safety that sets us apart.
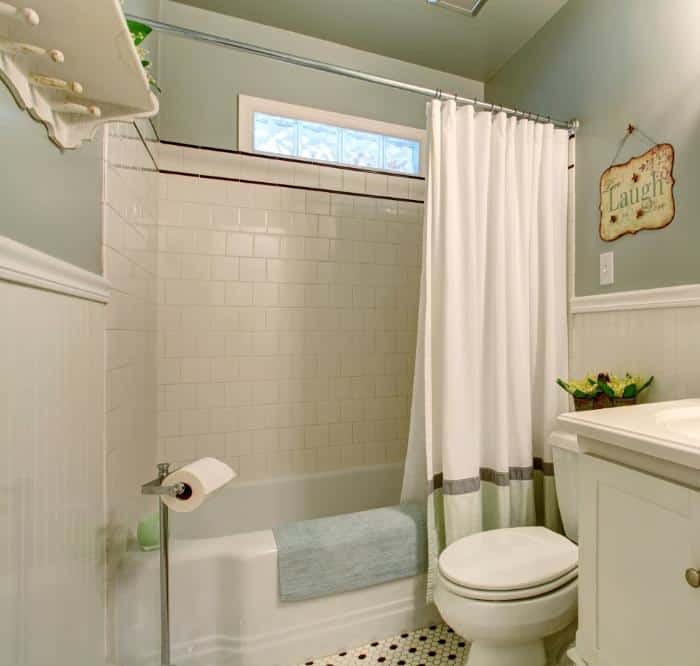
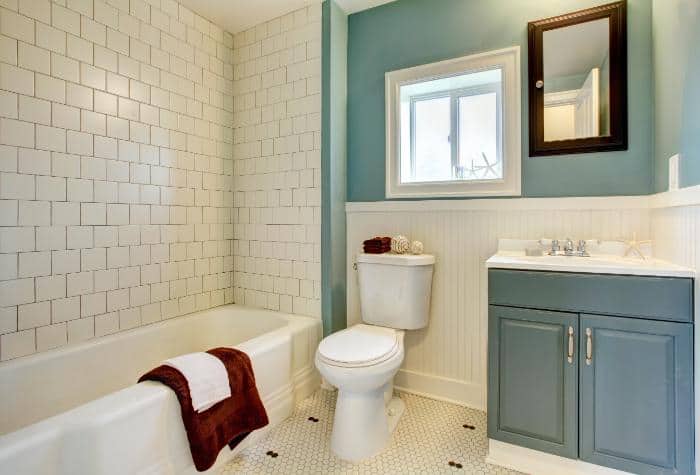
Reglazing Shower Walls
Some homes have a tub/shower combo, with the bathtub porcelain and the walls of tile. In this case, we would suggest repairing both as that will result in a consistent uniform match. If you only reglaze your fixtures but leave the walls all original, it might not match exactly as there are hundreds, if not thousands, of shades of each color on the market.
In most cases, we recommend processing the whole job at the same time. This will ensure that everything matches in the bathroom. However, in some cases, you can select a new color that compliments the existing area, which will save you the cost of having the tile refinished if they are still in good condition. Either way, one of our BBB-accredited experts can help you decide which remodel is the best for your given situation.
Is Bathtub Reglazing As Good As A New Tub?
Many homeowners are faced with the decision of whether to replace or refinish their fixtures. Most people don’t realize that there are often hidden fees associated with replacing, such as demolition, plumbing work, new drywall installation, and painting. In contrast, sink and bathtub reglazing is a straightforward process that can save you time, money, and hassle.
Both options have pros and cons, but ultimately, the decision comes down to personal preference. If done correctly, refinishing the old one can be just as good as a new one, and it is normally a more cost-effective option. Reach out to our courteous California refinishing company today for a free quote to see if refinishing is the right option for you!
Fiberglass, Cultured Marble, Acrylic Refinishing
Bathtub refinishing is an affordable alternative to replacing your existing fixtures. We can refinish your fiberglass, cultured marble, or acrylic fixtures to like-new condition in just a few hours. We offer a wide range of options to choose from so you can find the perfect look for your home. What are you waiting for? Let’s get your fixtures looking like new again! Our certified and licensed technicians are ready to tackle any project, ensuring the safety and beauty of your renewed surfaces.
Prevent Grout Failure
If not done properly, your grout can begin to absorb water which causes it to swell and eventually crack. This means you’ll have to remove the grout and replace it with new, which is costly. If you are experiencing this problem, we can remove the old grout, clean the surface, apply new grout, and seal it to prevent future water damage. It’s a lot of work, but we can help you save money and time by completing the project for you.
Prevent grout failure by having your bathroom fixture and surrounding areas refinished by our pros. We can refinish to like-new condition and use only the highest quality products to ensure a long-lasting coat. Call today for a free estimate! Our product is durable, we have great service, are family-owned, and importantly we’ll warranty our work.
How Long Does Bathtub Resurfacing Take?
The procedure usually takes about 3-4 hours to complete, and you’ll be able to use your bathroom again within 24 hours. This includes the time it takes to remove the old finishes, prep the surface, apply the new material, and cure the new finish.
We’re Here To Help
Get Started Today
With over 40 years of experience in the industry, we are a trusted company for quality bath and sink resurfacing. Our highly-trained crew takes care of everything, so you don’t have to lift a finger. Each technician is certified to ensure the highest level of quality and safety during the refinishing process. Our company will remove your old surfaces and provide you with the best service possible.
To learn more about our miracle method bathtub refinishing process or to request an estimate, schedule an appointment with us today!
San Diego Bathtub resurfacing gives the look and feel like new and costs less than replacement..
The process of refinishing is much less intrusive, can be completed in a fraction of the time, and can completely change the look of the entire room.
Fixing is also a much more eco-friendly option, as it significantly reduces the amount of waste going into landfills, a fact that is important to our customers.
Get in touch today
Receive your free quote

“Did Such A Great Job”
“Fidel did such a great job on our resurfacing! I called him and was able to get a quote and appointment quickly. The few places I called ahead of FG either wouldn’t provide an estimate or they were more than 5 times what Fidel charged, he even came in a little under the estimate!! I was very pleased with how great our tun looks. Fidel was professional and did a great job! Would definitely recommend!!”
Kristina M.